Once you have got your Andersen Charge Point online you will need to complete your account setup. This can be changed in your settings later.
You will be asked to:
- Provide your energy supplier
- Select your tariff type
- Use or remove or change a default schedule
- Opt-out of randomised delay – for schedules only
- Add in your charge point location
Note: You will need to get your Andersen online first before you can complete this section.
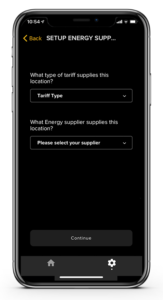
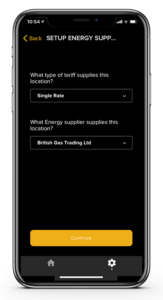
1. Set Up your Energy Supplier
Select your tariff type and your energy supplier
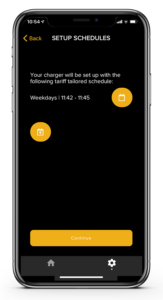
2. Add/Remove/Change your charging schedules
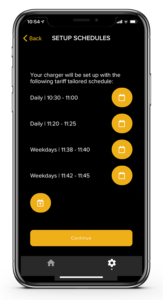
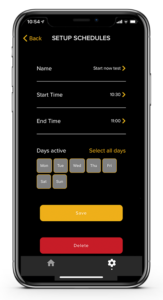
You will be giving different charging schedules pre-set as a default, these can be removed, changed or add a new schedule at this point.
You can always edit this later in the Schedule section of the app.
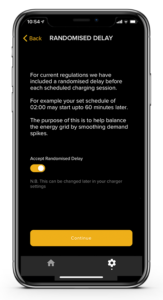
3. Randomised Delay
You have the option to opt-in or out of the schedule randomised delay.
You can always edit this later in the setting section of the app under Energy Supplier
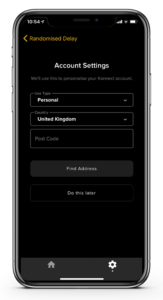
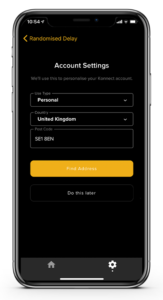
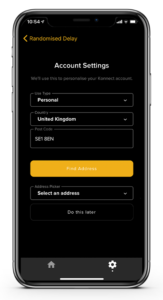
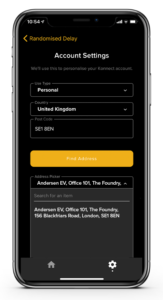
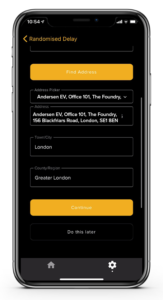
4. Add in your Charge Point Location
You can include the location of your charge point as well as select if this is for personal or business use
5. Complete Setup
Your Andersen is now online and your Kønnect+ Account is all set up.